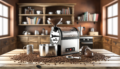
Introduction to Home Coffee Roasting
The Appeal of Home Roasting
For coffee enthusiasts, the quest for the perfect cup is a never-ending journey. Home coffee roasting offers a hands-on approach to this quest, providing an unparalleled level of control over the flavor and freshness of the brew. The allure of transforming green coffee beans into aromatic, roasted delights is not just about the end product; it’s about the experience. The sizzling sounds, the rich aromas, and the transformation of color from green to golden to a deep brown are all part of the magic that draws people to roast at home.
Benefits of Roasting Your Own Coffee
Roasting your own coffee comes with a myriad of benefits. Freshness is paramount, as coffee begins to lose its complexity and vibrancy soon after roasting. Home roasters enjoy their coffee at peak flavor. Additionally, customization is at your fingertips; you can tailor your roast to your personal taste, experimenting with different beans and roast levels. Economic savings can also be significant over time, and there’s an undeniable sense of accomplishment in savoring a cup of coffee that you’ve roasted yourself.
Understanding the Roasting Process
Roasting coffee is both an art and a science. It involves heating green coffee beans to specific temperatures to initiate a series of chemical reactions that develop the beans’ flavor and aroma. The process can be broken down into several stages, from the initial drying phase to the first crack (a key milestone where beans expand and crackle), and potentially to the second crack for darker roasts. Each stage contributes to the beans’ final taste profile, making understanding the roasting process crucial for any home roaster.
What You’ll Need to Get Started
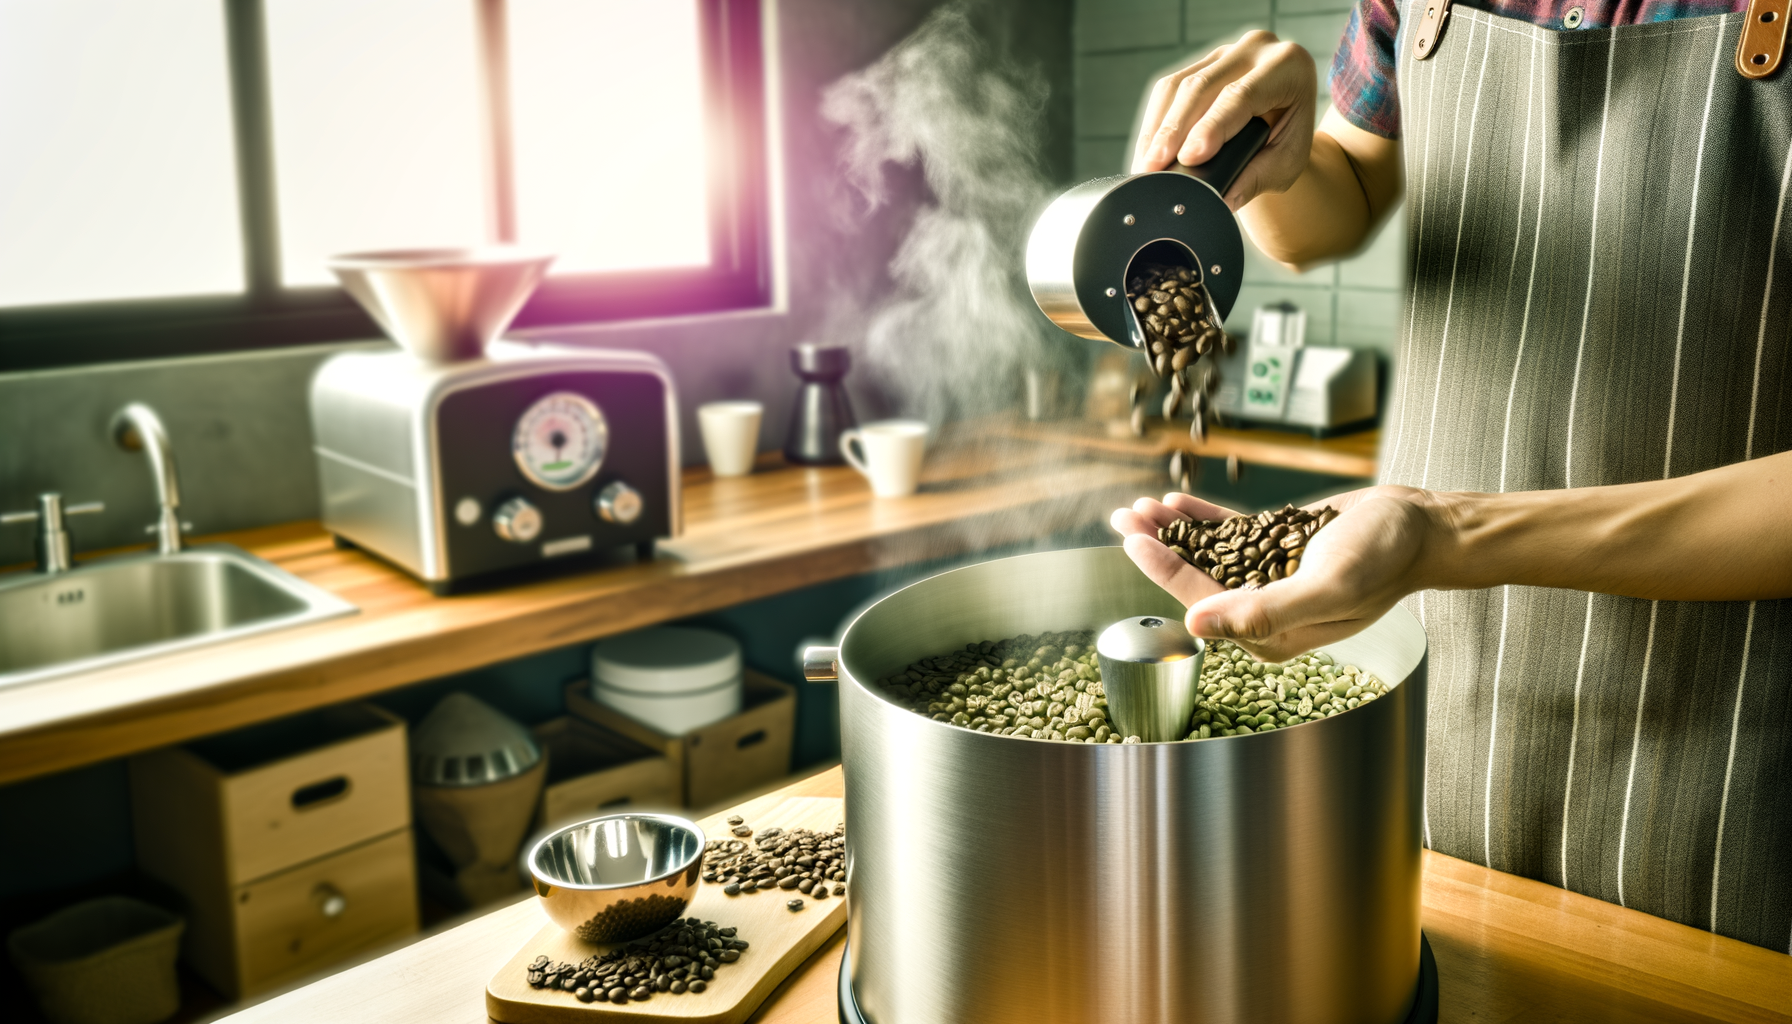
Embarking on your home roasting adventure requires some essential tools and ingredients. Firstly, you’ll need a source of green coffee beans; these are the raw, unroasted seeds of the coffee cherry. Next, you’ll need to choose your roasting equipment. Options range from simple stovetop pans to sophisticated home roasting machines. Additionally, consider acquiring a thermometer to monitor the temperature, a timer to track the roast duration, and a cooling tray to halt the roasting process. Lastly, don’t forget a storage container to keep your freshly roasted beans at their best.
Selecting Your Green Coffee Beans
Types of Coffee Beans and Their Profiles
When embarking on the journey of home coffee roasting, the first step is to choose the right green coffee beans. The two primary species of coffee beans are Arabica and Robusta. Arabica beans are known for their sweeter, more complex flavor and lower caffeine content. They often have notes of fruit and berries, making them a favorite among specialty coffee roasters. Robusta beans, on the other hand, have a stronger, more bitter taste with a higher caffeine content and are typically used in espresso blends for their rich crema.
Factors Affecting Flavor and Quality
The flavor and quality of coffee beans are influenced by several factors, including origin, altitude, climate, and processing method. Beans grown at higher altitudes tend to have a more refined acidity and are generally considered of higher quality. The climate, including temperature and rainfall patterns, also plays a crucial role in the development of the beans’ flavor profile. Additionally, how the beans are processed after harvesting—whether washed, natural, or honey-processed—can significantly impact their taste.
Sourcing Ethically and Environmentally Friendly Beans
As a home roaster, you have the unique opportunity to make choices that support sustainable and ethical coffee production. Look for beans that are certified fair trade, which ensures that farmers receive a fair price for their crop. Certifications like organic or Rainforest Alliance can also indicate that the beans were grown without harmful pesticides and with a commitment to environmental conservation. By choosing to source your beans from reputable suppliers who prioritize these values, you not only enjoy a better cup of coffee but also contribute to the well-being of coffee-growing communities and the planet.
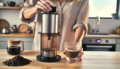
Roasting Equipment Options
Overview of Home Roasting Equipment
Embarking on the journey of home coffee roasting begins with selecting the right equipment. The four primary methods include roasting on the stovetop, in the oven, using a popcorn machine, or investing in a dedicated home coffee roaster. Each method varies in complexity, cost, and the level of control it offers over the roasting process.
Pros and Cons of Different Roasters
- Stovetop: This method is cost-effective and convenient, utilizing equipment you likely already own. However, it requires constant attention and stirring to achieve an even roast, which can be challenging for beginners.
- Oven: Roasting in an oven is straightforward and accessible, needing only a pan and some green beans. The downside is that it can be time-consuming and may not provide the most uniform roast.
- Popcorn Machine: A popcorn machine is an affordable and user-friendly option that tends to produce an even roast. The drawback is that these machines are not designed for coffee roasting and may have a shorter lifespan when used for this purpose.
- Home Coffee Roaster: Dedicated coffee roasters like the Fresh Roast SR540 or Behmor 2000AB Plus offer precise control and are built to last. They are ideal for those serious about roasting but come with a higher initial investment.
DIY Methods for the Adventurous
For those who enjoy a hands-on approach, DIY roasting methods can be both rewarding and experimental. You can use a cast-iron skillet, a heat gun with a metal bowl, or even modify a popcorn popper for more control. These methods require a keen eye, a steady hand, and a willingness to learn through trial and error.
Safety and Preparation
Regardless of the method chosen, safety is paramount. Ensure your roasting area is well-ventilated to handle the smoke and chaff produced during roasting. An extractor fan or open window can help. Always have a metal colander or heatproof container ready for cooling the beans post-roast. Keep a fire extinguisher nearby as a precaution, and never leave your roasting coffee unattended. Preparing your space and understanding the risks will ensure a safe and enjoyable roasting experience.
The Roasting Process: A Step-by-Step Guide
Preheating Your Roaster
Before you begin roasting, it’s essential to preheat your roaster. This step ensures a consistent roasting environment and is critical for achieving the desired roast profile. Start by setting your roaster to the appropriate temperature, which can vary depending on the machine and the amount of coffee you’re roasting. A good rule of thumb is to preheat to a temperature between 350°F (177°C) and 500°F (260°C). Allow the roaster to reach this temperature and stabilize for about 15 to 30 minutes before introducing your green beans.
Roasting Stages and What to Look For
Roasting coffee is an art that involves several stages, each with distinct characteristics:
- Drying Phase: The beans lose moisture and turn a light yellow color. Listen for the beans to become silent as they dry out.
- First Crack: A pivotal moment in roasting, characterized by a cracking sound as the beans expand and their structure breaks down. This stage typically begins around 385°F (196°C).
- Development Phase: After the first crack, you’re in the realm of light to medium roasts. Extending this phase will lead to darker roasts.
- Second Crack: A more subtle cracking sound indicating a dark roast. This usually occurs around 435°F (224°C) and beyond.
Throughout these stages, monitor the color, aroma, and sound of the beans. Adjust the temperature and airflow as needed to control the roast profile.
Cooling and Resting the Beans
Once you’ve reached your desired roast level, it’s crucial to cool the beans quickly to stop the roasting process. Transfer the beans to a metal colander or a cooling tray if your roaster has one. Stir the beans or use a fan to expedite cooling. After cooling, let the beans rest for at least 12 hours to allow gases to escape and flavors to develop. This resting period is known as degassing and is vital for the beans to reach their peak flavor profile.
Troubleshooting Common Roasting Issues
Even with careful attention, you may encounter issues during roasting. Here are some common problems and their solutions:
- Uneven Roast: Ensure that the beans are moving adequately in the roaster. Adjust the drum speed, airflow, or agitate manually if necessary.
- Scorching: This can occur if the roaster is too hot at the start or if there’s insufficient movement. Lower the initial temperature and ensure proper bean agitation.
- Baking: A flat taste may result from too low a temperature or too long a roast time. Increase the temperature and monitor the development phase closely.
- Underdevelopment: If the roast is sour or grassy, it may be underdeveloped. Extend the time between the first crack and cooling, or increase the roasting temperature slightly.
Remember, roasting is a skill that improves with practice. Keep detailed notes of each roast to refine your technique and develop your palate.
Mastering Roast Profiles
Light, Medium, and Dark Roasts Explained
Understanding the spectrum of roast profiles is essential for any home roaster. Light roasts are typically stopped immediately after the first crack, a point where the beans have expanded and are light brown in color. These roasts preserve the unique characteristics of the bean, offering higher acidity and more pronounced origin flavors. Medium roasts reach just beyond the first crack, achieving a balanced flavor with a more developed body and less graininess than light roasts. Dark roasts continue until the second crack or beyond, resulting in beans with a shiny, oily surface and a pronounced bitterness that often overshadows the original flavors of the bean.
Experimenting with Roast Times and Temperatures
Experimentation is key to discovering your preferred roast profile. Start by roasting small batches and adjusting one variable at a time, such as the temperature or roast duration. For example, roasting at a higher temperature for a shorter period can produce a light roast with a different flavor profile than roasting at a lower temperature for a longer period. Pay close attention to the color change and listen for the ‘first crack’ and ‘second crack’ to gauge the progress of your roast.
Keeping a Roasting Log
Maintaining a roasting log is crucial for mastering your roast profiles. Document every batch with details such as the type of bean, weight, roasting equipment used, temperature curve, time to first crack, total roast time, and any observations on flavor. This log will become an invaluable reference, helping you replicate successful roasts and refine your technique over time. Bold experimentation combined with meticulous note-taking will elevate your home roasting to a craft.
Storing Your Home-Roasted Coffee
Best Practices for Freshness
After investing time and effort into roasting your own coffee, ensuring its freshness is paramount. The key to maintaining the vibrant flavors of your home-roasted coffee is proper storage. To begin with, always store your coffee in a cool, dark place away from direct sunlight, heat, and moisture, as these elements can degrade the quality of the beans. It’s also essential to use your coffee within the optimal freshness window, typically within one to two weeks post-roast for the best flavor profile.
Understanding Degassing
Once coffee is roasted, it begins to release carbon dioxide in a process known as degassing. This is a natural part of the coffee’s life cycle and can affect the taste and brewing process. Degassing is most rapid in the first few hours after roasting and can continue for several days. During this time, it’s crucial to store the coffee in a way that allows this gas to escape without letting oxygen in, which can stale the coffee. A one-way valve bag is a popular choice among home roasters for this reason, as it allows gases to exit without any air entering.
Container Types and Storage Conditions
Choosing the right container is vital for preserving the freshness of your home-roasted coffee. Here are some options:
- Airtight Containers: These are ideal for keeping oxygen at bay. Glass or ceramic with airtight seals can work well.
- Valve Bags: Specifically designed for coffee, these bags have a one-way valve that allows gases to escape while preventing air from entering.
- Vacuum-Sealed Bags: For longer storage, vacuum-sealing can significantly slow down the staling process.
When it comes to storage conditions, consistency is key. Aim to maintain a consistent temperature and avoid fluctuations that can cause condensation. The ideal storage temperature is around 20-25°C (68-77°F). Humidity should also be controlled; a range of 30-50% is recommended to prevent moisture from affecting the beans. Lastly, if you must refrigerate or freeze your beans, ensure they are in a completely airtight container to prevent moisture and odors from contaminating the coffee. However, frequent changes in temperature from removing the beans from the fridge or freezer can cause condensation, so this method is generally not recommended unless you’re storing coffee for an extended period.
Enjoying Your Home-Roasted Coffee
Brewing the Perfect Cup
After the meticulous process of roasting your own coffee beans, the next step is to brew a cup that does justice to your hard work. The key to brewing the perfect cup lies in the grind size, water temperature, and brewing method. For a balanced extraction, grind your beans to suit your brewing method—coarse for French press, medium for drip, and fine for espresso. Use water just off the boil, around 195°F to 205°F, to avoid burning the grounds. Experiment with brewing times to find the sweet spot for your taste preferences. Remember, the fresher the roast, the more vibrant the flavors in your cup.
Pairing with Foods to Enhance Flavor
Just like wine, coffee pairs beautifully with food, enhancing flavors and creating a more rounded sensory experience. Light roasts, with their brighter acidity, complement sweet pastries and fruit, while medium roasts pair well with milk chocolate and nutty flavors. Dark roasts, with their bold and smoky notes, are perfect alongside rich desserts and hearty breakfasts. Try different combinations to discover how food can bring out unique notes in your home-roasted coffee.
Sharing Your Roast with the Community
One of the joys of home roasting is sharing your creations with friends, family, and fellow coffee enthusiasts. Host a coffee tasting to get feedback and discuss flavor notes. You can also join online forums or local clubs to connect with others who roast at home. Sharing your experiences can lead to new insights and techniques, and you might just inspire someone else to start their own roasting journey.
Continuing Your Coffee Education
The world of coffee is vast and ever-evolving. To refine your roasting skills and deepen your appreciation for this beloved beverage, continue your education. Attend workshops, watch tutorials from seasoned roasters, and read up on the latest trends and studies. The more you learn, the more you can experiment with different beans, roasts, and brewing methods. Embrace the lifelong learning that comes with the art of coffee roasting.